Real Estate Photography Secrets: How to Make Your House Look Irresistible Online
Table of Contents
- Real Estate Photography Secrets: How to Make Your House Look Irresistible Online
- Real Estate Photography Secrets: How to Make Your House Look Irresistible Online – Equipment Essentials
- Real Estate Photography Secrets: How to Make Your House Look Irresistible Online – Staging and Lighting
- Real Estate Photography Secrets: How to Make Your House Look Irresistible Online – Post‑Processing Techniques
- Maximizing Online Appeal with Strategic Image Placement
- Choosing the Right Platforms
- Optimizing Image Metadata
- Common Pitfalls and How to Avoid Them
- Over‑editing and Unrealistic Expectations
- Neglecting Exterior and Neighborhood Shots
- Inconsistent Visual Style
In today’s digital marketplace, the first impression of a property is often formed before a potential buyer steps foot inside. High‑quality photographs can transform a modest listing into a coveted opportunity, while poor images can cause even the most well‑priced home to be overlooked. Understanding the visual language that drives online engagement is therefore essential for any seller who wants to stand out.
Real estate photography is far more than simply pointing a camera at a room and pressing the shutter. It involves a strategic blend of equipment choices, lighting mastery, thoughtful staging, and meticulous post‑processing. When executed correctly, these elements combine to showcase a home’s strengths, conceal its flaws, and convey a lifestyle that resonates with buyers.
This article delves into the most effective Real Estate Photography Secrets: How to Make Your House Look Irresistible Online. From selecting the right gear to optimizing image metadata for search engines, each section offers actionable guidance that can be implemented by homeowners, agents, or professional photographers seeking a competitive edge.
Real Estate Photography Secrets: How to Make Your House Look Irresistible Online
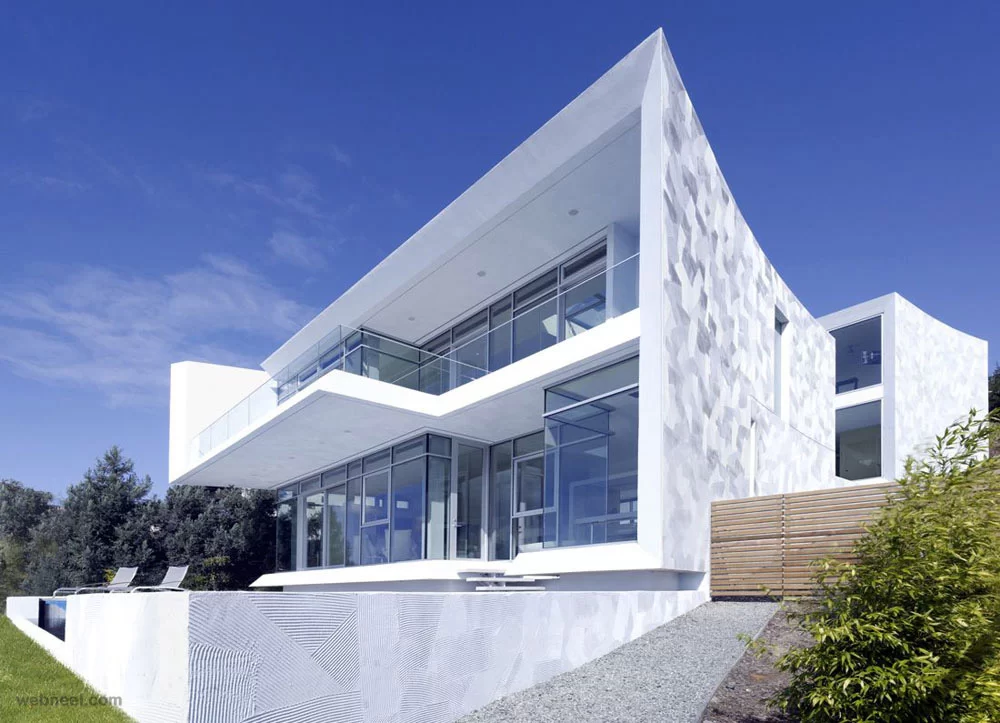
20 Beautiful Real Estate photography examples for your inspiration
Before you schedule a shoot, spend time evaluating the narrative you wish to convey. Ask yourself: Which rooms best illustrate the home’s flow? Which architectural features deserve emphasis? Answering these questions informs every subsequent decision, ensuring that the final photo set tells a cohesive story that aligns with the target buyer’s expectations.
Real Estate Photography Secrets: How to Make Your House Look Irresistible Online – Equipment Essentials
- Camera Body: A full‑frame DSLR or mirrorless camera provides superior dynamic range, essential for capturing both bright windows and shadowed corners without loss of detail.
- Lenses: A wide‑angle lens (15‑24mm on full‑frame) is a staple for interior shots, as it expands perceived space while maintaining realistic proportions. For exterior shots, a 24‑70mm lens offers flexibility.
- Tripod: Stability is non‑negotiable. A sturdy tripod eliminates camera shake, allowing you to use slower shutter speeds for optimal exposure, especially in low‑light rooms.
- Remote Shutter Release: Prevents inadvertent movement when pressing the shutter button.
- Lighting Gear: Portable LED panels or strobe kits help fill in shadows and balance natural light. Softboxes are ideal for diffusing harsh light sources.
While high‑end gear can improve results, many successful listings have been captured with mid‑range equipment paired with disciplined technique. The key is consistency: use the same settings across rooms to maintain a uniform look and feel.
Real Estate Photography Secrets: How to Make Your House Look Irresistible Online – Staging and Lighting
Staging transforms an empty or cluttered space into a visually appealing canvas. Start by decluttering—remove personal items, excess furniture, and any décor that distracts from the architecture. Then, arrange furniture to highlight traffic flow and create inviting zones. Adding fresh greenery, tasteful artwork, and neutral textiles can inject warmth without overwhelming the viewer.
Lighting is equally critical. Whenever possible, shoot during daylight hours when natural light is abundant. Open curtains, turn on interior lights, and switch off harsh overhead fluorescents. When natural light is insufficient, supplement with LED panels placed at 45‑degree angles to avoid creating spotlights. Aim for a balanced exposure that showcases the true colors of walls, flooring, and fixtures.
Don’t forget exterior photography. A well‑lit curb appeal shot can dramatically increase click‑through rates. Shoot the front of the house during the “golden hour” (shortly after sunrise or before sunset) to capture warm, flattering light. Ensure the lawn is mowed, pathways are clean, and any seasonal décor is tasteful.
Real Estate Photography Secrets: How to Make Your House Look Irresistible Online – Post‑Processing Techniques
After the shoot, post‑processing refines the raw images into polished marketing assets. The goal is to enhance realism, not to create an unrealistic fantasy. Follow these steps:
- RAW Conversion: Start with RAW files to retain maximum detail. Adjust exposure, white balance, and contrast before any other edits.
- Perspective Correction: Use tools like Lightroom’s “Transform” or Photoshop’s “Lens Correction” to straighten vertical lines, preventing the “tilted wall” effect common in wide‑angle shots.
- Color Calibration: Ensure that whites appear neutral and wood tones are accurate. A calibrated monitor is essential for consistent color representation.
- Highlight & Shadow Recovery: Gently lift shadows in darker corners while preserving highlights near windows to maintain a natural look.
- Sharpening & Noise Reduction: Apply selective sharpening to edges of furniture and architectural details, and reduce noise in low‑light areas without smudging textures.
Finally, export images at the optimal resolution for the intended platform: typically 1500‑2000 pixels on the longest side for MLS listings, and larger (3000+ pixels) for high‑resolution marketing brochures.
Maximizing Online Appeal with Strategic Image Placement
The way images are organized on a listing page influences buyer behavior. Studies show that the first three photos receive the highest engagement, so place the most compelling shots—often the front façade, a spacious living area, and a master bedroom—at the top of the gallery.
Choosing the Right Platforms
Different platforms have distinct image requirements. While the Multiple Listing Service (MLS) often caps the number of photos, social media platforms like Instagram and Facebook allow for carousel posts that can highlight additional amenities such as a pool or a gourmet kitchen. Align your image strategy with the target audience: professional buyers may prioritize MLS and dedicated real‑estate portals, whereas younger, tech‑savvy buyers might discover the property through social feeds.
Integrating your visual assets with broader marketing efforts enhances their impact. For instance, pairing stunning photographs with a well‑crafted blog post about digital marketing strategies to sell your house faster can improve search engine visibility and attract qualified leads.
Optimizing Image Metadata
Search engines index not only textual content but also image metadata. To boost organic traffic, follow these best practices:
- Descriptive File Names: Rename files from generic “IMG_001.jpg” to “real-estate-photography-secrets-spacious-living-room.jpg”.
- Alt Text: Write concise, keyword‑rich alt attributes, e.g., “Real Estate Photography Secrets: How to Make Your House Look Irresistible Online – bright living room with natural light”.
- Captioning: Use captions sparingly, focusing on key selling points like “Open‑concept kitchen with stainless‑steel appliances”.
- Schema Markup: Implement “ImageObject” schema to provide search engines with additional context.
These steps increase the likelihood that your photos appear in image‑search results, driving additional traffic to the listing.
Common Pitfalls and How to Avoid Them

Common Pitfalls to Avoid for Successful Common Criteria Certification
Even seasoned photographers can fall into traps that diminish a property’s appeal. Recognizing these pitfalls early enables you to correct course before the listing goes live.
Over‑editing and Unrealistic Expectations
While it’s tempting to enhance every detail, excessive editing can create a disconnect between online expectations and the actual walkthrough experience. Over‑brightened rooms, exaggerated angles, or digitally added furniture may lead to buyer disappointment, resulting in lower offers or prolonged time on market.
Maintain authenticity by adhering to a “real‑world” editing philosophy: aim for accurate color reproduction and realistic lighting. If a room truly lacks natural light, consider staging with additional lamps rather than artificially brightening the scene.
Neglecting Exterior and Neighborhood Shots
Buyers often base their initial interest on curb appeal and surrounding amenities. Omitting high‑quality exterior photos or images of nearby parks, schools, and shopping districts can cause the listing to be filtered out during the early stages of a buyer’s search. Include at least three exterior images: a front view, a backyard view, and a contextual neighborhood shot.
Additionally, be mindful of seasonal considerations. A snow‑covered driveway may look charming in winter but could hide potential issues like uneven pavement. If possible, schedule exterior shoots during mild weather for a clearer representation.
Inconsistent Visual Style
Variation in lighting, color temperature, or composition across images can make the gallery feel disjointed. Consistency reinforces the perception of professionalism and helps buyers compare rooms more easily. Use the same white‑balance setting for the entire shoot, and apply a uniform preset during post‑processing to maintain a cohesive aesthetic.
To further strengthen the visual narrative, consider creating a short virtual tour or 3‑D walkthrough. These immersive experiences complement static photographs and cater to buyers who prefer an interactive exploration of the property.
By integrating the Real Estate Photography Secrets: How to Make Your House Look Irresistible Online with a comprehensive marketing plan—including understanding closing costs and strategic pricing—you set the stage for a smoother transaction. Moreover, applying cost‑effective enhancements such as fresh paint, minor repairs, and strategic landscaping can increase the home’s perceived value, aligning visual appeal with actual market value. For homeowners seeking budget‑friendly upgrades, the article how to increase your home value before selling without breaking the bank offers practical guidance.
In the competitive arena of online real‑estate listings, the power of a well‑crafted photograph cannot be overstated. By mastering equipment selection, staging, lighting, post‑processing, and strategic image deployment, you transform a simple property listing into a compelling visual story that resonates with buyers. The result is higher engagement, faster inquiries, and ultimately, a more successful sale.